Southwestern Bell Telephone Company (SBC) is a subsidiary of AT&T that specializes mainly in Telecommunications and Internet services. It’s currently headquartered in Dallas, Texas and provides its services in Arkansas, Kansas, Missouri, Texas and other regions.
SBC Global Mail is a webmail service from Southwestern Bell Telephone Company (SBC) to its customers. And, its main competitors include Gmail, Apple Mail and others. Despite such competition, there are millions of people who are currently subscribed to SBC Global Mail and use them on daily basis.
One of the reasons for the popularity of SBC Global Mail is definitely its available feature sets. It offers more features than its competitors and with better service quality. Some of its best features include Customized Setup, up to 1TB storage and others. Similarly, it’s also protected from different kinds of Viruses, Spams and phishing attacks. One also has the option to manage all of their essential data like photos, documents, receipts etc. at one place. And, SBC mail also allows you to consolidate all of your emails at a single place.
This tech guide would be helpful for you too: AOL Mail Settings For Outlook
SBC Global Mail supports all devices through the web and other mobile devices with various third party email clients. This simply means that users have the flexibility to access their SBC Global Mailboxes from any device and from anywhere in the world. And, they only need an internet connection with the correct SBC Global IMAP and SMTP Settings in their devices. So, we’ve listed the correct SBC IMAP and SMTP Settings hereafter for you to use.
SBC Mail IMAP and SMTP Settings
-
SBC Mail IMAP Settings
IMAP or Internet Message Access Protocol is an open standard for accessing mails from the server. It’s designed with the aim for mailbox management from multiple email clients. As such, it doesn’t download our emails from the server but rather loads them directly from it. Now, SBC Mail IMAP settings allows us to access our SBC mails from our favorite email clients. And, the correct IMAP Settings for SBC mail are listed below:
- Choose Incoming (IMAP) Host or Server as: mail.att.net
- Next, use 993 as the IMAP Port and SSL/TLS for encrypted connection.
- Now, enter your Full SBC Email address in the IMAP Username Section
- Again, enter your SBC email account password in the IMAP password
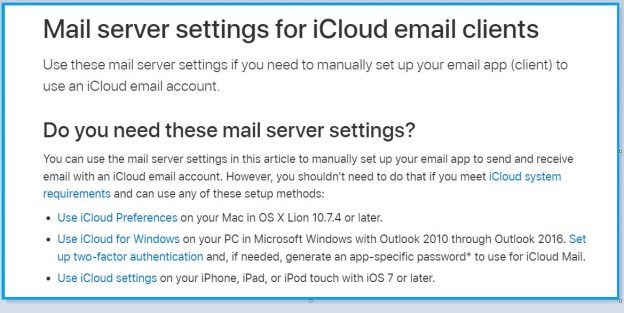
This tech guide would be helpful for you too: iCloud Server Settings | iCloud IMAP and SMTP Settings
-
SBC Mail SMTP Settings
SMTP Stands for Simple Mail transfer Protocol and it’s a set of communications rules between servers for transfer of electronic-mails. Hence, this way it works together with other standard protocols like IMAP and POP. But, it’s solely dedicated for sending out emails unlike the other two. Now, the correct SBC Mail SMTP Settings are shown below:
- Choose Outgoing (SMTP) Host or Server as: mail.att.net
- Next, use 465 as the SMTP Port and SSL/TLS for encrypted connection.
- Now, enter your Full SBC Email address in the SMTP Username Section
- Again, enter your SBC Email account password in the SMTP password